MyTajGarage.com
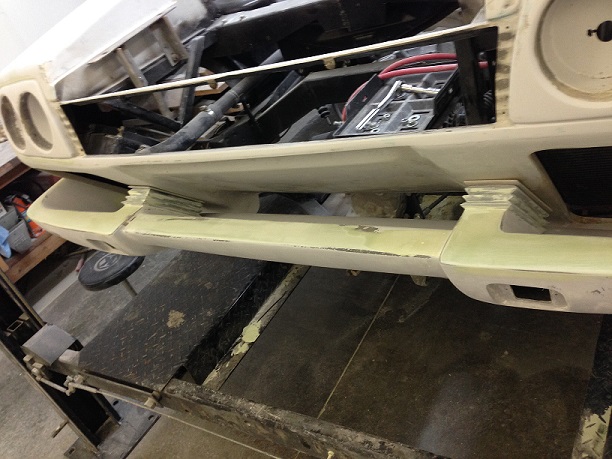
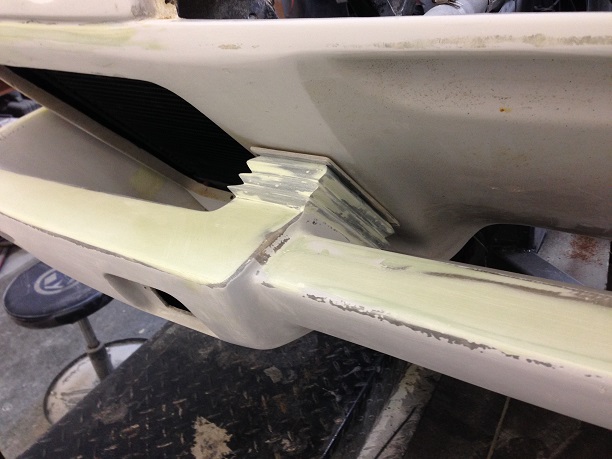
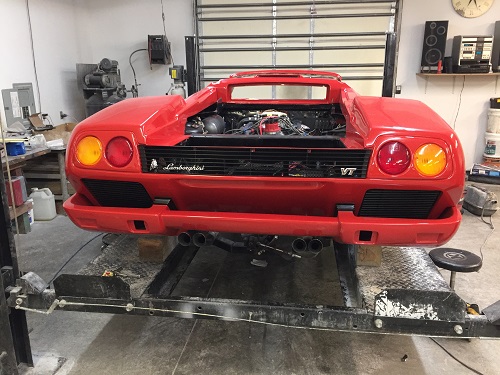
01/24/10: I got the rear bumper securely mounted to the chassis this month. My motivating factor was that I wanted to finish my exhaust tips but I needed to know how the rear bumper was going to fit first. Overall, the effort wasn't as bad as I thought it would be. It took about 10 hours to get to this point. First off, steel plates needed to fabricated in the rear of the car in order to mount the bumper to the chassis. Next, the fiberglass bumper mounting points needed to be cutoff as shown in the first pick. The bumper was molded to be mounted directly to the rear of the car. I wanted room to mount the rubber boots that are between the body and bumper to give it that OEM look. In doing this, mounts needed to be fabricated into the bumper. What I did is molded a 1/4" think piece of flat iron into the bumper. It's bent to mount flat to the top and wedged into the bottom and secured with Hourglass. I used a small piece of 1" square tube and attached to the mounting flange, which bolts directly to the rear of the car.
The sides of the bumper have two bolts inserted to attach to the bumper to the body of the car. Since this section of the bumper was solid fiberglass, I drilled and taped the holes for two pieces of all-thread. Epoxy glue was used to secure the all-threads into the bumper. We'll see if they hold! I will likely need to cut back more of the rear bumper to make room for the bumper boots. I'll update the site when that work is complete.
| |


